If you love the idea of pulling up somewhere quiet, switching off the engine and still having power, solar is your new best friend.
For caravans, campervans and motorhomes, solar panels turn your roof or a simple folding kit into your own little power station. Instead of hunting for pitches with electric hook up, you can run lights, charge phones and laptops, and keep small appliances going, just from the sun.
Compared with a generator, solar feels very different. No noise, no fumes, no fuel to store, and no annoying start up routine. Your system just gets on with it in the background. Compared with relying only on campsites, solar gives you far more choice: wild camping laybys, pub stopovers, rallies and basic sites suddenly become comfortable options, not just “one night only” compromises.
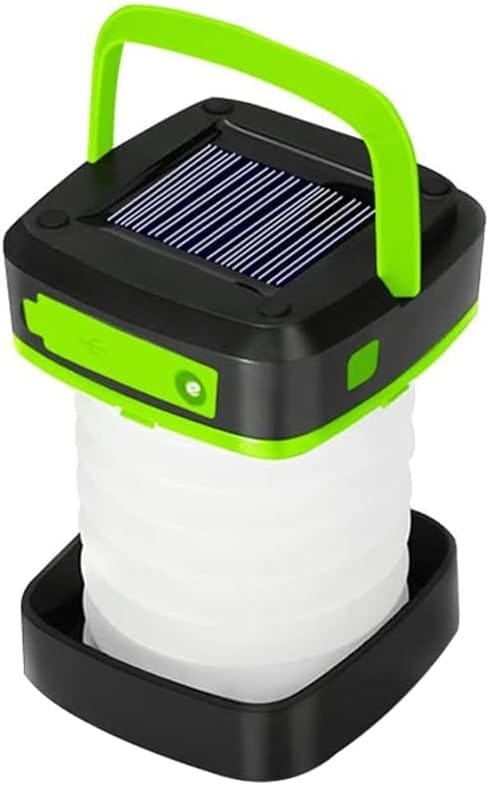
On the road, people use solar for all the everyday comforts: interior lighting and solar lights in the awning, keeping the leisure battery topped up, running fans on hot days, powering the water pump, charging cameras and tablets, and enjoying a bit of TV or music in the evening. A modest setup can easily handle the basics, especially in summer.
If you are new to it, the tangle of cables and technical terms can look intimidating. In reality, modern camping solar kits are far simpler than they appear. Many come almost plug and play, and you can start small with a single panel and one battery. As your confidence grows, your system can grow too, step by step, along with your travel plans.
How solar power works in simple terms
At its heart, solar is simple. Solar panels sit in the sun and create electricity. Inside each panel are lots of tiny cells that react to sunlight and produce a low voltage direct current, or DC, usually around 18 volts before it is tamed by the rest of the system.
That power first passes through a solar charge controller. This smart little box protects your leisure battery, feeding it just the right amount of power so it charges well without being overcharged. The leisure battery then stores the energy so you can use it later, in the evening or on cloudy days.
Most of your van already runs on 12 volt DC power, things like lights, water pump, fridge controls and USB sockets. These can usually run straight from the battery. Solar lights and other 12 volt gadgets are ideal, because you avoid extra losses and extra kit.
If you want to power normal household items, like a 230 volt laptop charger or small TV, you use an inverter. It takes 12 volt DC from the battery and turns it into 230 volt AC, like at home.
A few friendly terms help here: volts are the “pressure,” amps are the “flow,” and watts are the total “power.” Volts × amps = watts. Amp hours (Ah) tell you how much energy a battery can store. For example, a 100 Ah battery can, in theory, run a 5 amp load for about 20 hours. Wiring and fuses quietly keep it all safe, carrying power where it needs to go and cutting off the circuit if anything goes wrong.

ECO-WORTHY 12V 10W Solar Battery Charger OBD2 Trickle Panel Maintainer

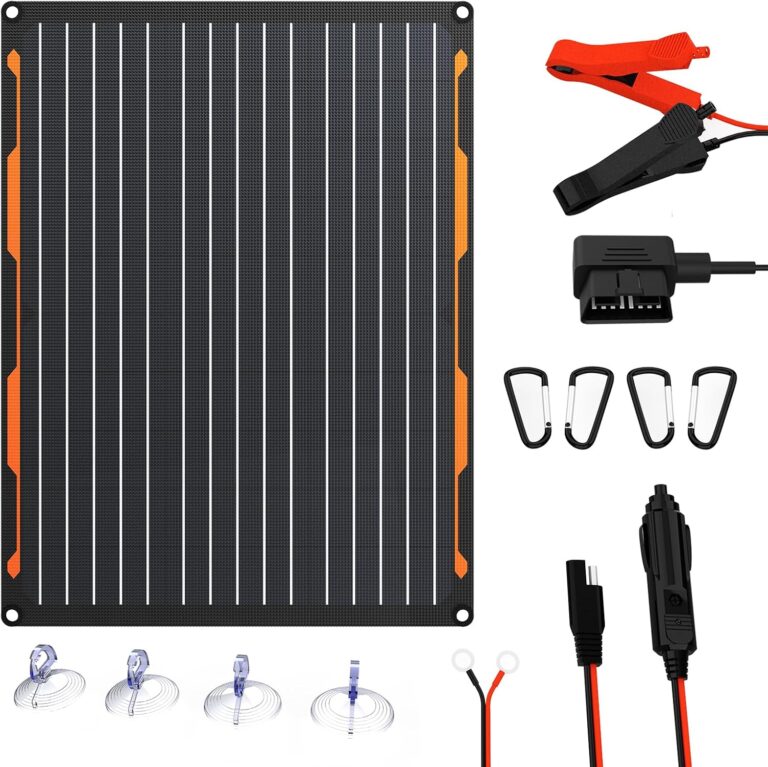
ECO-WORTHY 25W 12V Solar Panel Kit with Mounting Brackets & Corner Guards

FlexSolar 12V 20W Solar Car Battery Charger IP67 Waterproof Trickle Charger

DOKIO Foldable Portable Solar Panel 100 Watt 12 Volt Monocrystalline Solar Suitcase with Waterproof Charge Controller
Choosing the right type of solar panels for your van
Once you know the basics, the next step is choosing the right solar panels for your caravan, campervan or motorhome. Most touring setups use one of three types: rigid framed, flexible or portable folding panels.
Rigid framed panels are the classic glass panels on aluminium frames. They are usually the most efficient for their size, last the longest and cope well with heat. They suit anyone who wants a fit and forget roof installation. The trade offs are extra weight and a taller profile that can catch the wind a little and add a few centimetres to vehicle height.
Flexible panels are bonded directly to the roof. They are light, low profile and look very neat, ideal if you need to keep overall height down or mount on a curved roof. The downside is that they run hotter, which can reduce output and lifespan, and they are generally a bit less efficient and less durable than rigid panels.
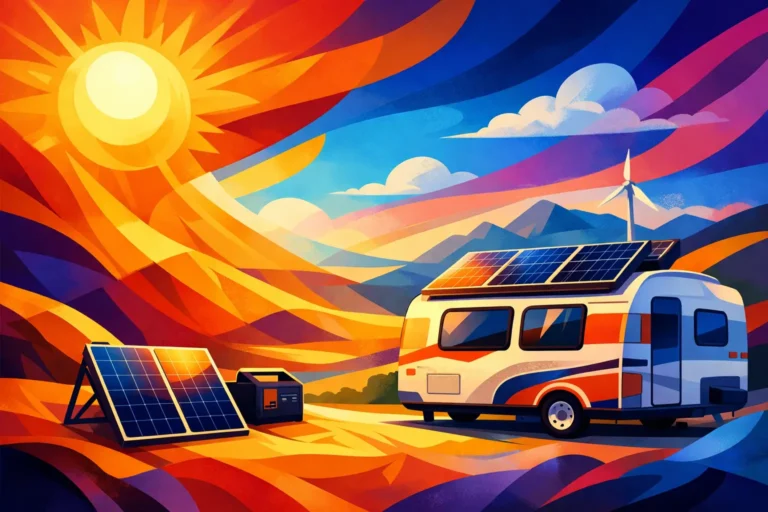
Portable or suitcase panels fold up for storage and can be put out when you park. They are great if you like to park in the shade while your solar sits in the sun, or if you want to angle panels towards the light.
Most camping panels are monocrystalline or polycrystalline. Mono panels are a bit more efficient and slightly smaller for the same power. Poly are usually cheaper and still work well for touring.
Typical touring sizes are 100 watt for light use, 200 watt for regular off grid stays, and 300 watt or more for power hungry setups or compressor fridges.
Working out how much solar you really need
Working out how much solar you really need
Start with a simple list of what you actually use when camping, and for how long each day. Include:
- Interior and awning lighting
- Phone and tablet charging
- Laptop use
- TV or streaming box
- Water pump
- Fridge
- Extras like fans or a small inverter for 230 volt bits
Now give each item a rough power and time. For example:
- LED lights: 10 watts for 4 hours ≈ 40 watt hours (Wh)
- Phone charging: 5 watts for 3 hours ≈ 15 Wh
- Laptop: 40 watts for 2 hours ≈ 80 Wh
- TV: 30 watts for 3 hours ≈ 90 Wh
Add them up. In this example you are around 225 Wh per day before the fridge.
Fridges are the big variable. A 12 volt compressor fridge might average 30 to 40 watts while cycling, so often 300 to 500 Wh per day. A three way fridge on gas barely touches your battery, just a tiny 12 volt draw, so your solar needs are much lower.
In good summer sun a 100 watt solar panel might give 300 to 400 Wh per day, a 200 watt panel roughly double that. Enough for lights, gadgets and maybe a small TV, or for running a compressor fridge if you are sensible with other use.
Your leisure battery is the buffer. A healthy 100 Ah 12 volt battery holds around 600 Wh of usable energy, more if you have two. Solar keeps that bank topped up.
It is fine to start with one solar panel and a single battery. Learn what it covers, then add more panel or battery capacity later if you need it.
Will my solar panels work in winter and bad weather
Winter is when many people start doubting their solar, so it helps to know what to expect.
Solar panels are very seasonal. In a bright UK summer, a 100 watt panel can often put roughly 300 to 500 Wh into your leisure battery on a clear day. In mid‑winter that might drop to 50 to 150 Wh. Short days, low sun angles and more cloud all play a part. On a dull, grey day, you might only see 10 to 30 percent of the summer output. On a bright, cold winter day you might get 30 to 60 percent.
They still work in cloud and rain. If you look at your controller, you will usually see a steady trickle going in. It is enough to keep batteries topped up between trips, and to help with light use like solar lights, phone charging and a few LEDs, but it will not usually cover heavy loads on its own.
You can stack the odds in your favour. Bigger solar panels help in winter, so if you are fitting a new system and know you like frosty weekend trips, consider sizing up. Be a bit stricter with power use, and give the batteries a proper top up at home with mains hook up or a small smart charger.
Snow, grime and shade from roof boxes, awnings or trees can all crush performance, sometimes to almost nothing. A quick clean and careful parking position can make a surprising difference.
Even if you mostly tour in summer, solar is still very useful in winter for quietly maintaining your batteries so the van is ready to roll when the sun comes back.
Installing solar on caravans, campervans and motorhomes
You have four main options for getting solar panels onto your van: fixed roof mounted panels, tilting brackets, side mounted panels and portable freestanding panels you move around by hand. Many people use a mix, for example a fixed roof system plus a portable panel for shady pitches.
For roof mounting, first pick a clear area with no shade from roof lights, vents, aerials or roof boxes. Leave space for walking and maintenance. Rigid solar panels usually sit on plastic or aluminium mounts, bonded with specialist adhesive and sometimes screwed, depending on the roof construction. Flexible panels stick down lower profile, but need care with heat buildup under them.
Cables normally enter the vehicle through a plastic gland box that is glued and sealed to the roof. Holes are drilled only where needed, then filled around the cable with sealant to keep everything watertight. From there, the cables run to the solar charge controller, ideally close to the leisure battery with short, tidy wiring.
The controller connects between the solar panels and the battery. From the battery, your existing 12 volt system carries power to lights, pumps and other kit. Use correct cable sizes, fuses close to the battery and isolator switches so you can safely disconnect panels and batteries for work.
Consider a professional installer if your motorhome is new and under warranty, you have a complex electrical setup, want a large solar array or simply do not feel confident drilling the roof and sizing cables yourself.
Using and caring for your solar setup on the road
Once your solar is fitted, day to day use is mostly about a quick glance and a little care.
Most basic solar controllers show three key things:
• Panel input: often in watts or amps. Higher number, more sun.
• Battery voltage: around 12.6–12.8 V is full, 12.2 V is roughly half, 11.8–12 V is getting very low.
• Charging stage: bulk, absorption, float or a simple “charging” icon.
Use this to spot patterns. If your battery is rarely reaching full by late afternoon in decent sun, you may be using more than you are making.
To help your solar panels, park the sunny side toward the midday sun and avoid shade from trees, roof boxes or sat dishes. With portable or suitcase panels, angle them roughly toward the sun and move them a couple of times a day if you can.
Solar works well alongside other charging. Let the alternator top up while you drive, then solar keeps things going on site. On hook up, your mains charger does the heavy lifting and solar simply assists.
Look after your batteries by avoiding deep discharges. As a rule of thumb, try not to sit below about 50 percent for lead acid leisure batteries. Lithium can go lower but still likes avoiding constant extremes.
Maintenance is simple. Keep solar panels clean with water and a soft cloth, check cables and connectors for wear, and inspect roof sealant and mounts a few times a year.
Handy extras include solar lights for awnings, extra USB charging points, small efficient 12 volt fans and low power entertainment gear for easy evenings off grid.
Putting it all together: a simple path to solar freedom
Solar on a caravan, campervan or motorhome is really about freedom. With a decent panel and battery bank you can camp off grid more often, keep the lights on, phones charged and the fridge running without searching for hook up or listening to a generator.
The path to that freedom is simple once you break it down. First, work out how much power you actually use: lighting, charging, fridge, water pump, maybe a laptop or TV. Next, choose the type of solar panels that match your style. Roof mounted rigid panels suit people who tour often and want set and forget power. Flexible panels help where weight or height really matters. Portable folding panels are great if you like shady pitches but still want solar in the sun.
Decide where to install everything so it is safe and tidy, then start modest. A single 100 or 150 watt panel and a good leisure battery can be a perfect first step. You will quickly see how it performs in real life and can always add more panels, upgrade batteries or fit extra solar lights and 12 volt gadgets later.
Worried about drilling the roof, tricky wiring or poor winter performance? Many systems can use adhesive mounts and existing cable routes, there are clear wiring kits and guides, and winter solar is still ideal for battery maintenance even if you lean on hook up more.
The takeaway: start simple, build gradually and let the sun quietly handle the hard work so you can enjoy quieter, cleaner camping wherever the road leads.